
How to Grow Alfalfa Sprouts
Contents
- 1 How to Grow Alfalfa Sprouts (Complete Beginner’s Guide)
- 2 What Are Alfalfa Sprouts?
- 3 Why Grow Alfalfa Sprouts at Home?
- 4 Materials Needed
- 5 Seed Quantity: Small Seeds, Big Expansion (Critical!)
- 6 How to Grow Alfalfa Sprouts Step by Step
- 7 Alfalfa Sprouts Growth Timeline
- 8 Are Alfalfa Sprouts Safe to Eat?
- 9 Comparison: Alfalfa vs. Other Sprouts
- 10 How to Store for Maximum Shelf Life
- 11 Final Tips for Success
- 12 References & Data Sources
How to Grow Alfalfa Sprouts (Complete Beginner’s Guide)
Alfalfa sprouts are one of the most popular and beginner-friendly sprouts to grow at home. They require minimal equipment, grow quickly, and offer a mild, fresh flavor that works well in salads, sandwiches, and wraps.
In this guide, you’ll learn exactly how to grow alfalfa sprouts step by step, what to expect each day, common mistakes to avoid, and how to harvest and store them safely.
What Are Alfalfa Sprouts?
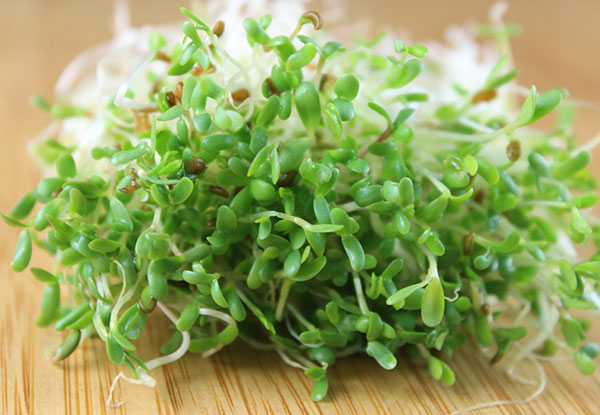
Alfalfa sprouts are young shoots grown from alfalfa seeds (Medicago sativa). They are typically harvested 4–6 days after soaking, once the sprouts develop thin white stems and small green leaves.
Compared with larger bean sprouts, alfalfa sprouts are:
- Extremely delicate: Thin, thread-like stems.
- Fast-growing: Ready in under a week.
- Nutrient-dense: Low in calories but high in Vitamin K and C.
Know Your Nutrition: Before you start, check out our Sprout Nutrition Comparison Tool to see how alfalfa compares to broccoli or mung bean sprouts in terms of vitamins and minerals.
Why Grow Alfalfa Sprouts at Home?
- Maximum Freshness: Store-bought sprouts have a very short shelf life and lose nutrients rapidly.
- Food Safety Control: You control the water quality and the hygiene of the sprouting environment.
- Incredible Value: One tablespoon of seeds can yield a nearly full quart jar of sprouts.
- No Soil Required: A true “kitchen garden” that only needs water and air.
Materials Needed
- Edible-grade alfalfa seeds: Must be raw, untreated, and labeled for sprouting.
- Sprouting jar: A wide-mouth glass Mason jar is ideal.
- Breathable lid: A fine mesh lid or cheesecloth secured with a rubber band.
- Clean water: Filtered or potable tap water.
- Draining rack: To hold the jar at an inverted 45-degree angle.
Seed Quantity: Small Seeds, Big Expansion (Critical!)
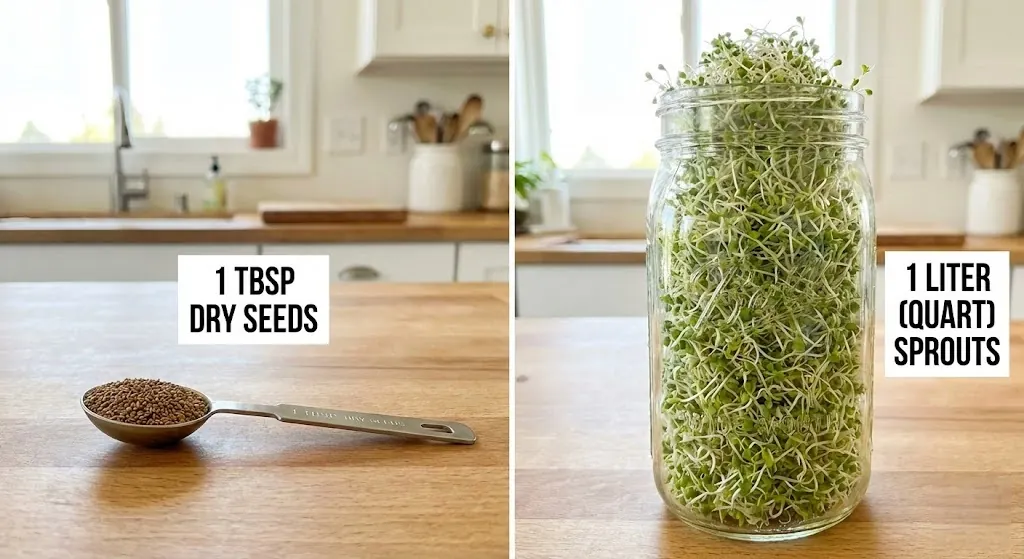
Alfalfa seeds expand dramatically—up to 10–12 times their dry volume.
- Standard Ratio: 1 tablespoon of seeds per 1-quart (1 L) jar.
- Common Mistake: Using too many seeds. Overcrowding blocks airflow, leads to heat buildup, and causes the sprouts to rot before they can grow.
How to Grow Alfalfa Sprouts Step by Step
Step 1: Soaking (Day 0)
- Rinse 1 tablespoon of seeds to remove dust.
- Place seeds in the jar and cover with 2–3 inches of cool water.
- Soak for 8–12 hours.
- Note: Healthy, viable seeds will eventually sink to the bottom once hydrated. Only damaged or empty hulls will continue to float.
Step 2: Initial Drain & Spread (Day 1)
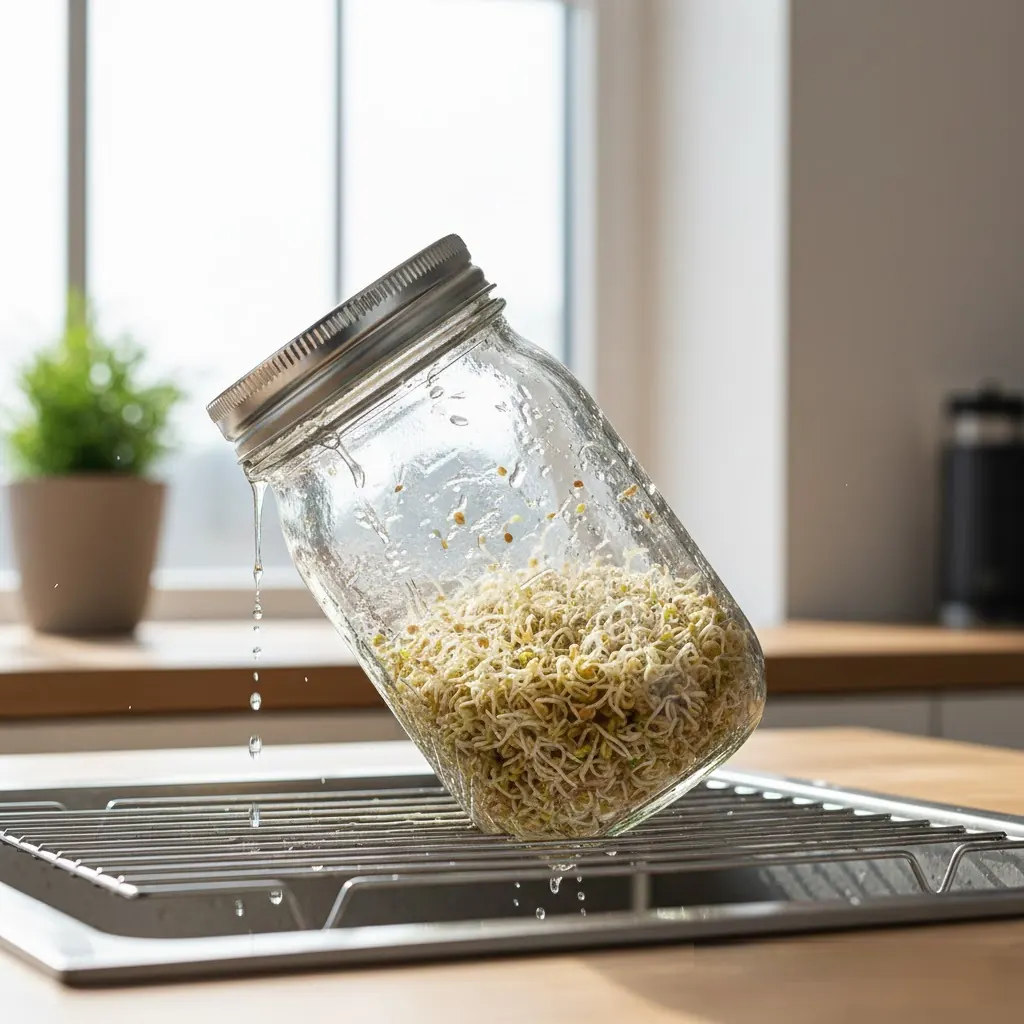
- Drain all soaking water.
- Rinse with fresh water and drain again thoroughly.
- The Pro Move: Roll or shake the jar so the wet seeds stick to the glass walls rather than clumping in a heap at the bottom. This ensures every seed can “breathe.”
Step 3: Daily Rinsing & Airflow (Days 2–4)
- Rinse and drain 2–3 times per day.
- Always drain fully. Standing water is the #1 cause of spoilage and sour smells.
- Keep the jar in a spot with good airflow, away from direct sunlight (room temp: 18–24°C).
Step 4: Greening Phase (Day 5)
By day 4 or 5, your jar should be nearly full. The tiny leaves will likely be pale yellow—this is normal.
- Move the jar to a spot with indirect sunlight (like a kitchen counter).
- Within 12–24 hours, the chlorophyll will activate, turning the leaves a vibrant green.
Step 5: Final Rinse & Hull Removal (Day 6)
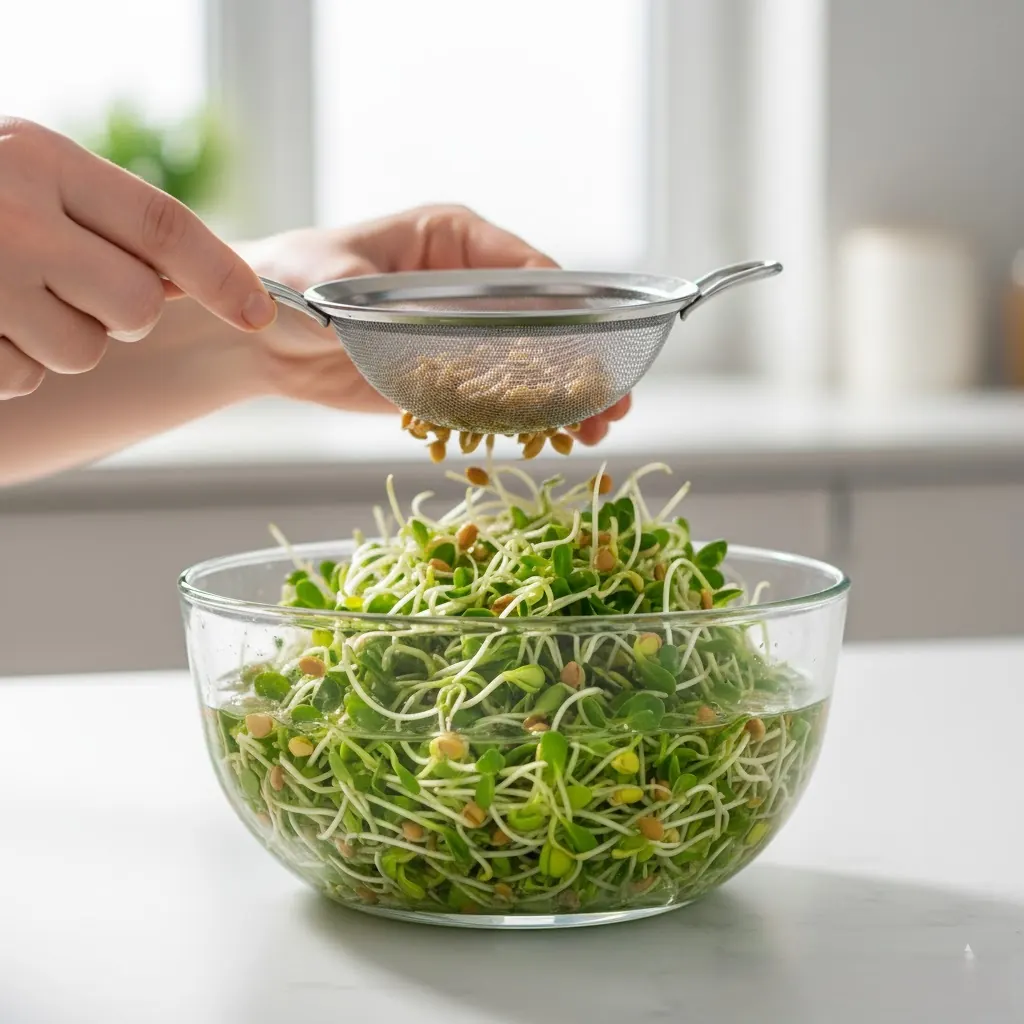
- Place sprouts in a large bowl of cool water.
- Gently swirl. The brown seed hulls will float to the top.
- Skim off the hulls and drain the sprouts thoroughly. Removing hulls improves texture and extends shelf life.
Alfalfa Sprouts Growth Timeline
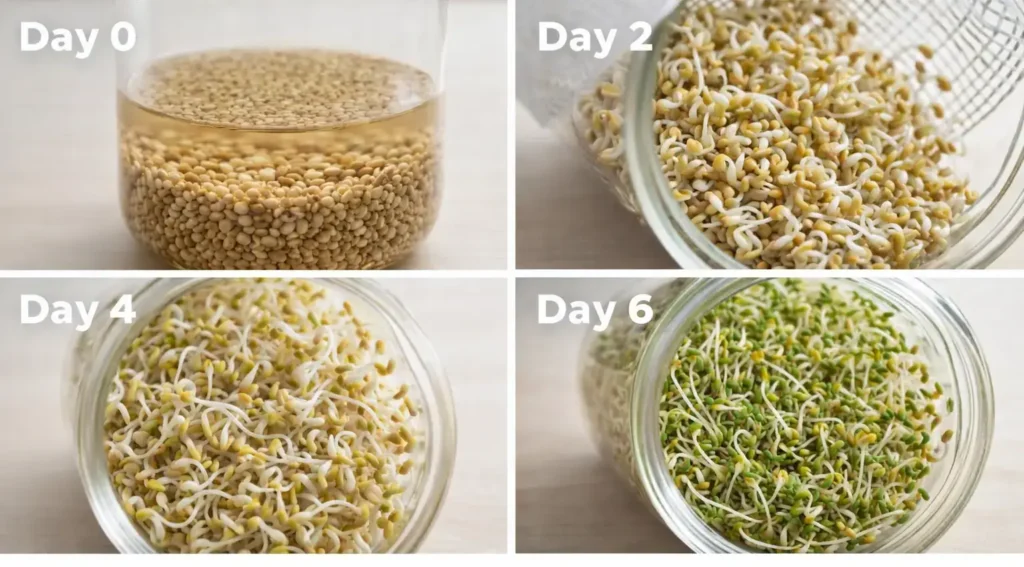
| Day | Status | Appearance |
| Day 0 | Soaking | Dry seeds swell and sink. |
| Day 1 | Activation | Seeds look plump; no visible growth yet. |
| Day 2 | Germination | Tiny white “tails” (roots) emerge. |
| Day 3-4 | Growth | Stems lengthen; tiny yellow leaves appear. |
| Day 5-6 | Harvest | Leaves turn green; jar is full and ready. |
Are Alfalfa Sprouts Safe to Eat?
While highly nutritious, there are two important safety factors to consider:
1. Microbial Safety
Because sprouts grow in warm, humid conditions, they are susceptible to bacteria like Salmonella. Always use clean tools and smell your sprouts. They should smell fresh and nutty—if they smell sour, musty, or “off,” discard the batch.
2. The Canavanine Note
Alfalfa sprouts contain a natural amino acid called canavanine.
Medical Precaution: People with autoimmune diseases, particularly Systemic Lupus Erythematosus (SLE), should consult their doctor before consuming alfalfa sprouts, as canavanine can potentially trigger flares.
Comparison: Alfalfa vs. Other Sprouts
If you find alfalfa too delicate, you might prefer a heartier sprout. Use our Nutrition Comparison Tool for a full breakdown, or see the quick summary below:
| Sprout Type | Difficulty | Harvest Time | Best Use |
| Alfalfa | Very Easy | 5-6 Days | Sandwiches & Wraps |
| Broccoli | Easy | 5-7 Days | Health Boost / Smoothies |
| Mung Bean | Easy | 3-5 Days | Stir-fry / Asian Dishes |
| Chickpea | Medium | 2-4 Days | Salads / Hummus |
How to Store for Maximum Shelf Life
The secret to long-lasting sprouts is dryness.
- After the final rinse, let the sprouts air-dry on a clean towel for 30–60 minutes.
- Place them in a container lined with a paper towel to absorb excess moisture.
- Keep in the refrigerator (≤4°C). They will stay fresh for about 4–5 days.
Final Tips for Success
- Don’t Over-seed: It is the most common reason for rot.
- The Sniff Test: Your nose is your best quality control tool.
- Cool Water: Always use cool water for rinsing to prevent the sprouts from “cooking” in their own metabolic heat.
Ready to see how alfalfa compares to your other favorites? Head over to our Sprout Nutrition Comparison Tool and plan your next crop!
References & Data Sources
- USDA FoodData Central – Sprouted Seeds
https://fdc.nal.usda.gov - University of Minnesota Extension – Sprout Safety
https://extension.umn.edu - International Sprout Growers Association
https://www.isga-sprouts.org