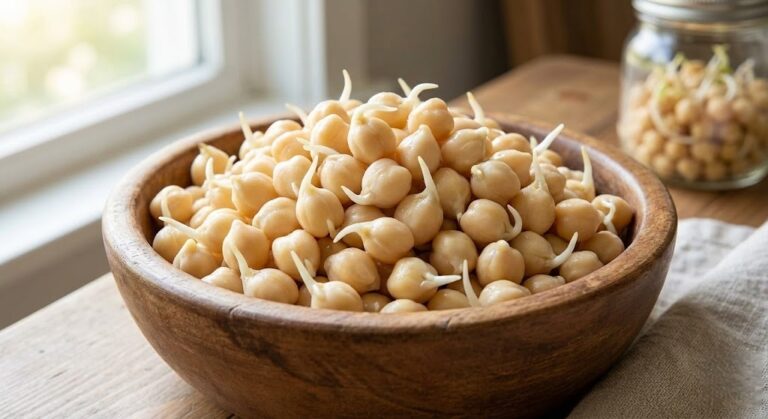
How to Grow Chia Sprouts
Contents
Overview
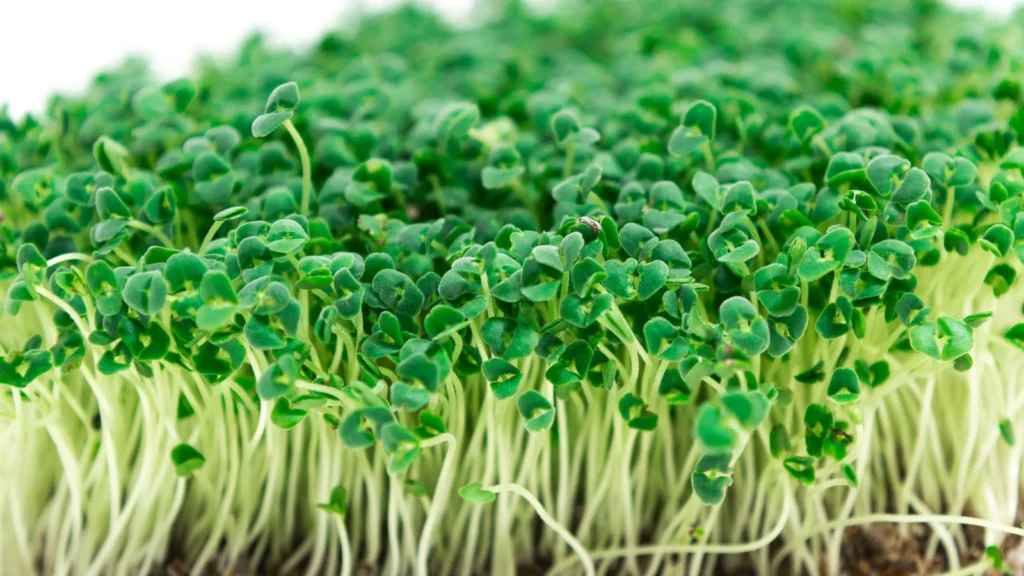
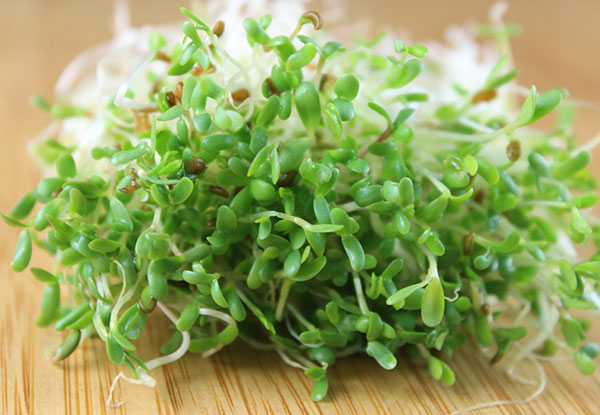
Chia sprouts are young edible shoots grown from chia seeds (Salvia hispanica). Unlike dry chia seeds, which are typically consumed soaked or ground, chia sprouts are grown as fresh greens.
Because chia seeds are mucilaginous (forming a thick gel-like layer upon contact with water), they require a specific approach. Using our Advanced Sprout Nutrition Analyzer, you can see how this biological transformation significantly reduces anti-nutrients and unlocks hidden minerals.
What You Need
- Food-grade chia seeds (organic recommended)
- Shallow tray or unglazed terracotta plate (The “Chia Pet” method)
- Growing medium: Soil, coconut coir, or a hemp grow mat
- Spray bottle (fine mist is essential)
- Bright indirect light
- Scissors for harvesting
How to Grow Chia Sprouts (Step-by-Step)
Step 1: Understand the Mucilaginous Challenge
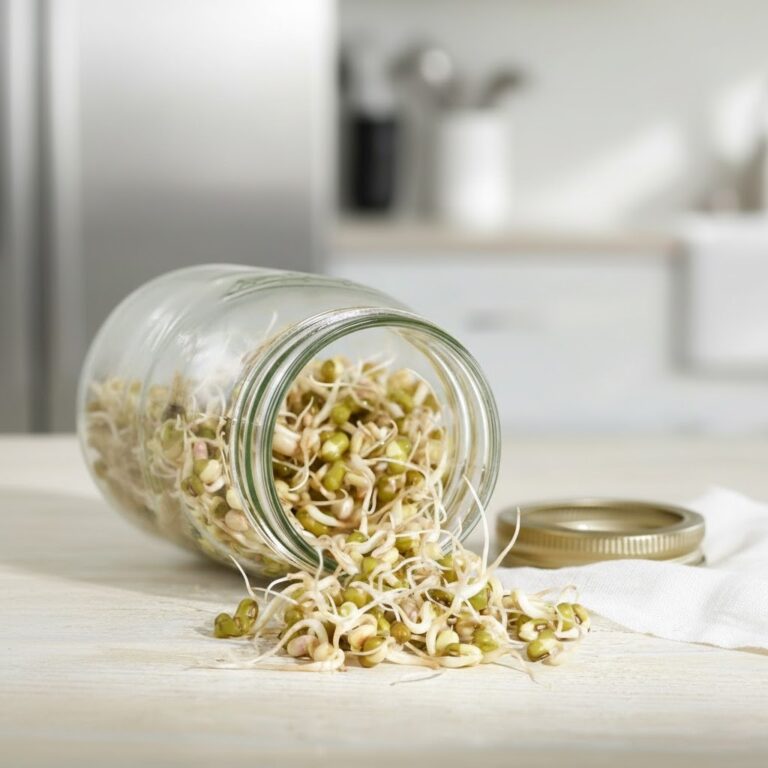
Chia seeds must not be grown in jars. When they touch water, they release soluble fiber that forms a sticky gel. In a jar, this clumping leads to oxygen deprivation and rapid mold growth.
Correct Method: Always use a flat surface to ensure maximum airflow.
Step 2: Prepare the Growing Surface
Place a thin layer (1–2 cm) of soil or a damp grow mat in your tray. Ensure the medium is moist but there is no standing water, as excess moisture is the primary cause of root rot in mucilaginous seeds.
Step 3: Distribute Seeds (No Pre-Soaking)
Sprinkle dry seeds evenly across the surface.
- ❌ Do not soak beforehand (they will become a clump of glue).
- ✅ Aim for a single layer to prevent overcrowding.
Step 4: Initial Mist and Anchor
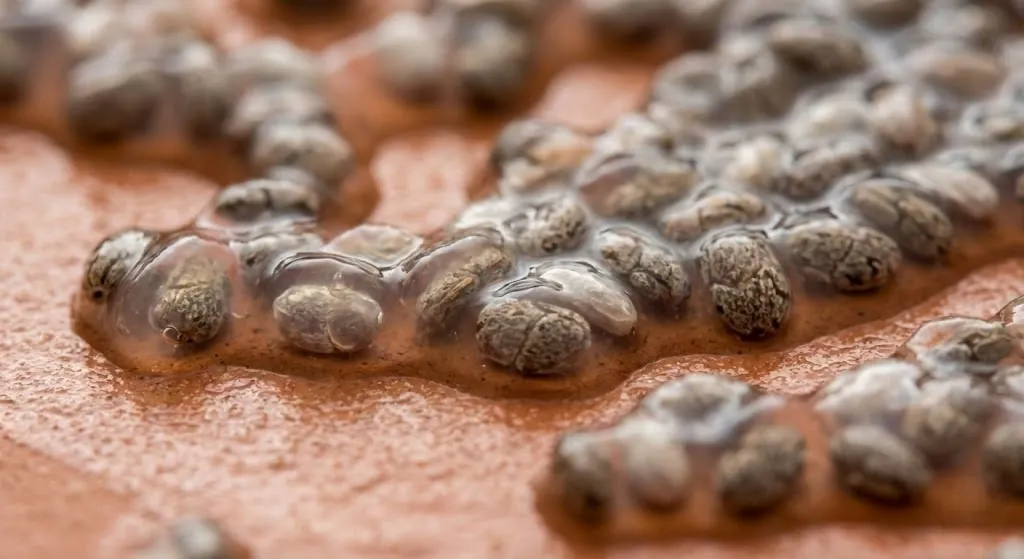
Using a fine mist, spray the seeds thoroughly. You will see the characteristic gel layer form immediately. This gel anchors the seed to the medium and acts as a water reservoir for the emerging root.
Step 5: Germination Phase (Days 1–3)
Keep the tray at 18–25 °C. Mist gently 1–2 times per day. If you cover the tray to retain humidity, use a breathable cloth rather than a solid plastic lid to maintain airflow.
Step 6: Light and Chlorophyll (Days 3–5)
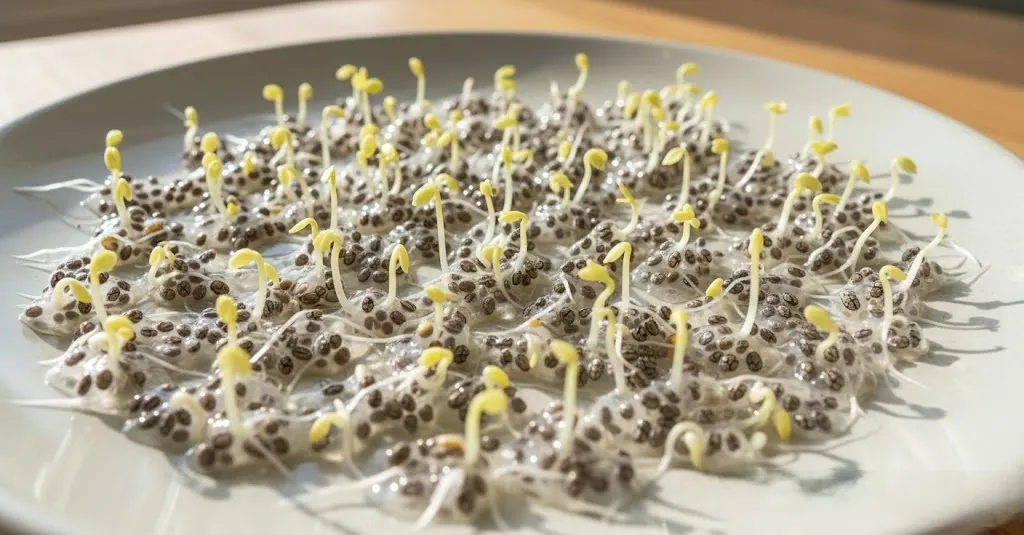
Once the tiny white shoots appear, move the tray to bright indirect sunlight. This triggers chlorophyll synthesis, turning the sprouts from pale white to a vibrant green.
Step 7: Growth and Maturation (Days 5–7)
The sprouts will reach 4–7 cm in height. Ensure the base of the stems remains clean and well-ventilated.
Step 8: Precise Harvesting
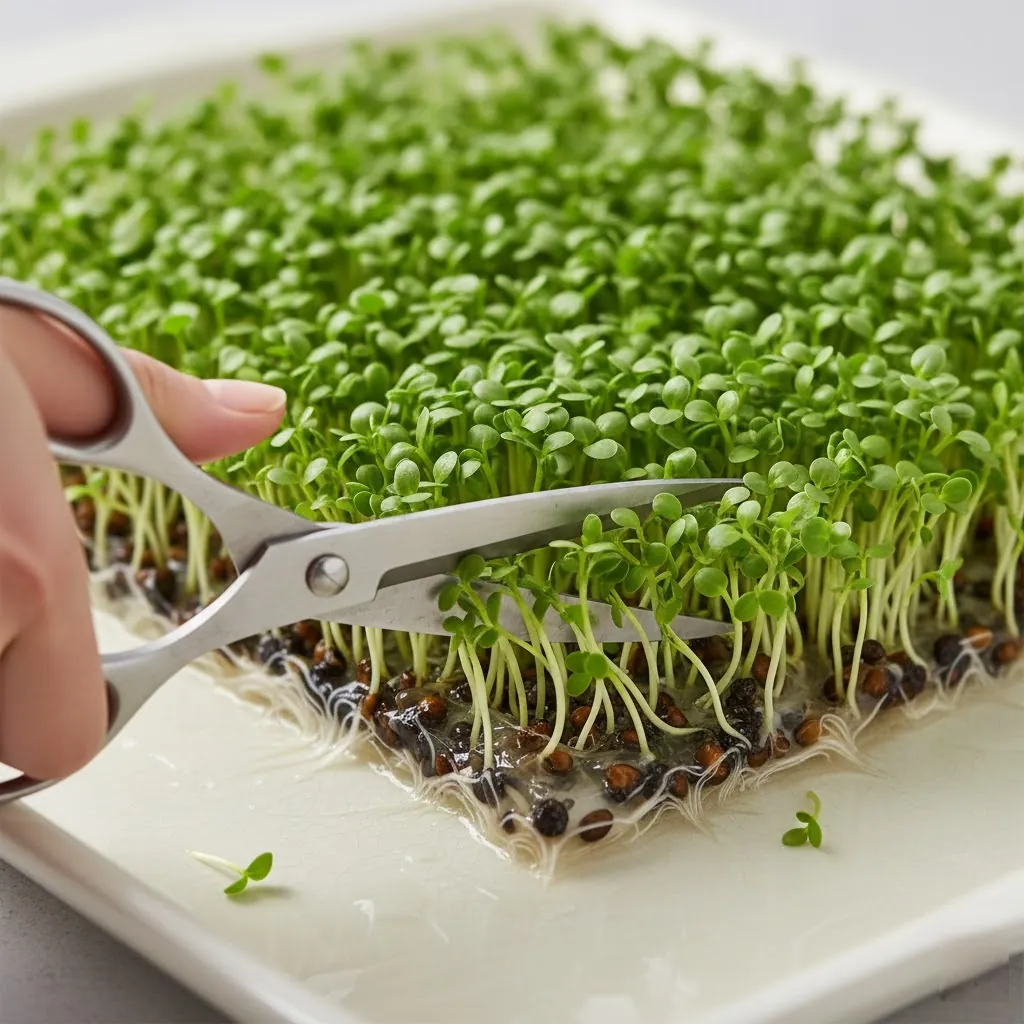
Harvest when the cotyledons (the first pair of leaves) are fully open.
- Pro Tip: Use clean scissors to cut just above the soil/mat line. Since the seed hulls of chia are sticky, harvesting the stems only provides a much cleaner culinary experience.
Growth Timeline
| Day | Stage | Biological Process |
| 0 | Seeding | Placement on moist medium |
| 1 | Gel Formation | Mucilaginous activation & anchoring |
| 2 | Germination | Radicle (root) emergence |
| 3–4 | Shoot Emergence | Early stem growth & enzyme activation |
| 5–6 | Leaf Expansion | Chlorophyll synthesis and greening |
| 6–7 | Harvest | Peak nutrient bio-availability |
Nutritional Comparison: Seeds vs. Sprouts
This data is modeled based on the Nutritional Matchup logic of our analyzer tool.
| Nutrient (per 100g) | Chia Seeds (Dry) | Chia Sprouts (Fresh) |
| Calories | High (Energy dense) | Very Low (Hydrated) |
| Vitamin C | 0 mg | Synthesized (High) |
| Phytic Acid | High | Significantly Neutralized |
| Bioavailability | Low (Locked) | High (Enzymatic activation) |
| Omega-3 | Very High | Present (Diluted by water) |
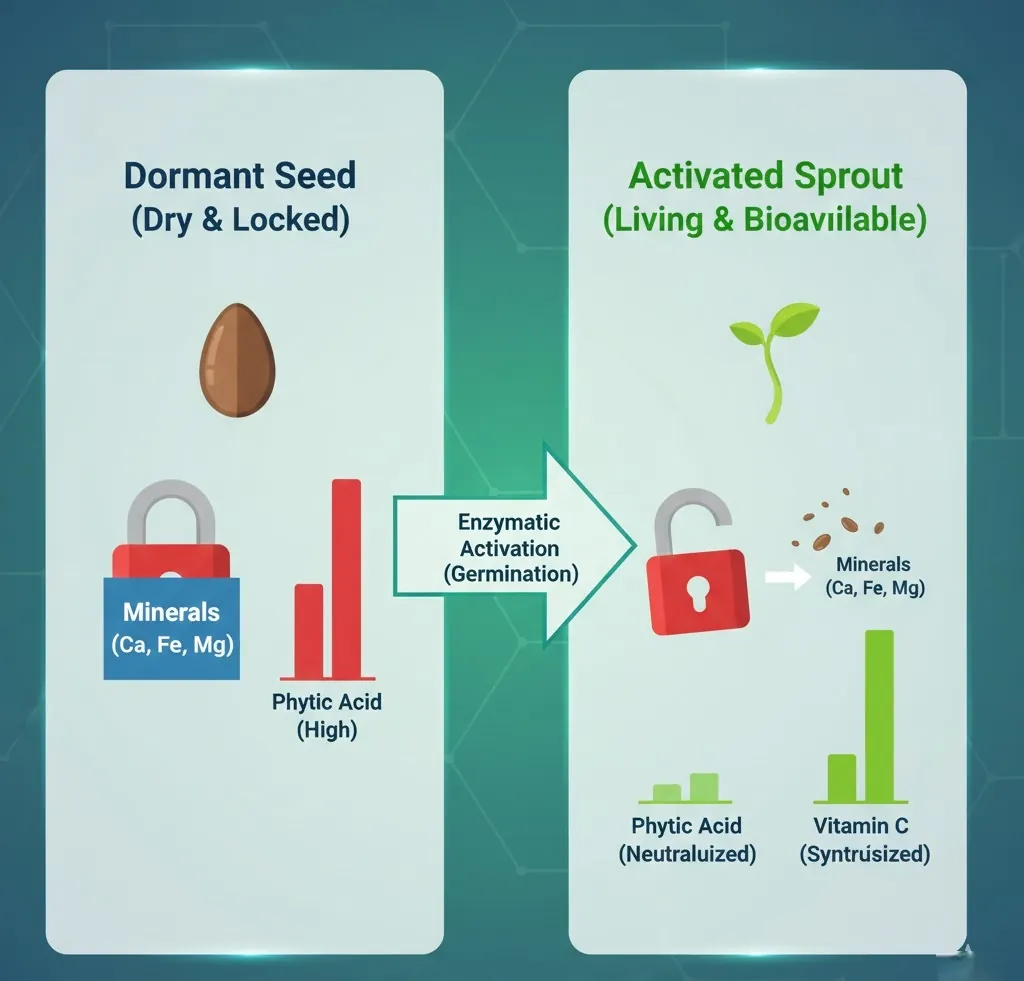
How to Interpret the Shift
While seeds are a powerhouse of healthy fats, sprouting transforms the chia seed into a living vegetable. The most critical change is the neutralization of phytic acid, which allows your body to actually absorb the calcium and iron that are otherwise “locked” in the dry seed.
Frequently Asked Questions
Q: Why are my chia sprouts falling over?
A: Usually due to low light or “damping off” (fungal growth from too much water). Increase light and reduce misting frequency.
Q: Can I eat the roots?
A: You can, but because of the gel and seed hulls, they are often gritty and sticky. Cutting them as “microgreens” is the preferred method.
Q: How do they compare to Mung Beans?
A: Chia sprouts are much higher in antioxidants and Omega-3 precursors. You can compare them side-by-side using our Variety Comparison Tool.
Final Thoughts
Chia sprouts are a nutritional “software update” for the seed. By moving from a dormant state to an active growth phase, the plant maximizes its nutrient bio-rate.
Ready to see how Chia stacks up against Broccoli or Alfalfa?
👉 Use the Sprout Nutrition Matchup Tool to Compare Now
Data Sources & References
General sprouting safety & methodology
https://www.foodsafety.gov/food-safety-charts/sprouts
USDA FoodData Central – Chia Seeds (Salvia hispanica)
https://fdc.nal.usda.gov/food/170554/nutrients
SproutsDaily – Sprout Nutrition Comparison Tool
https://www.sproutsdaily.com/sprout-nutrition-comparison-tool/
Scientific literature on sprouting & bioavailability
Reduction of phytic acid during seed germination
https://www.ncbi.nlm.nih.gov/pmc/articles/PMC5452227/
Nutrient changes during sprouting and microgreen stages
https://www.ncbi.nlm.nih.gov/pmc/articles/PMC4103721/